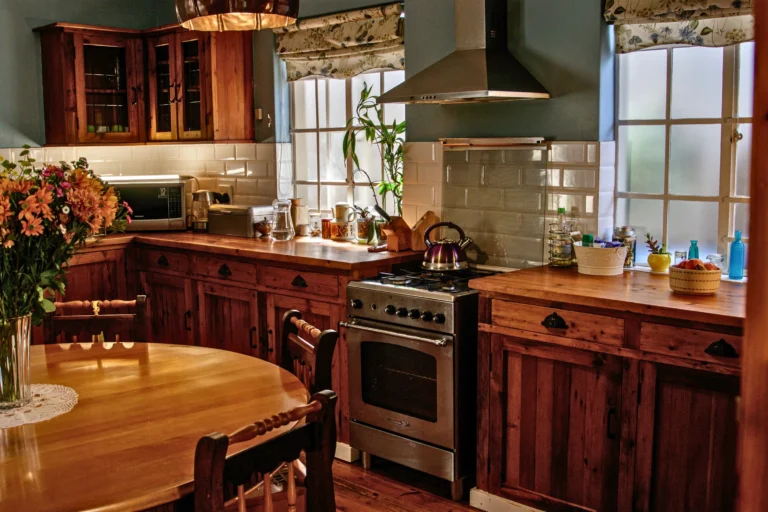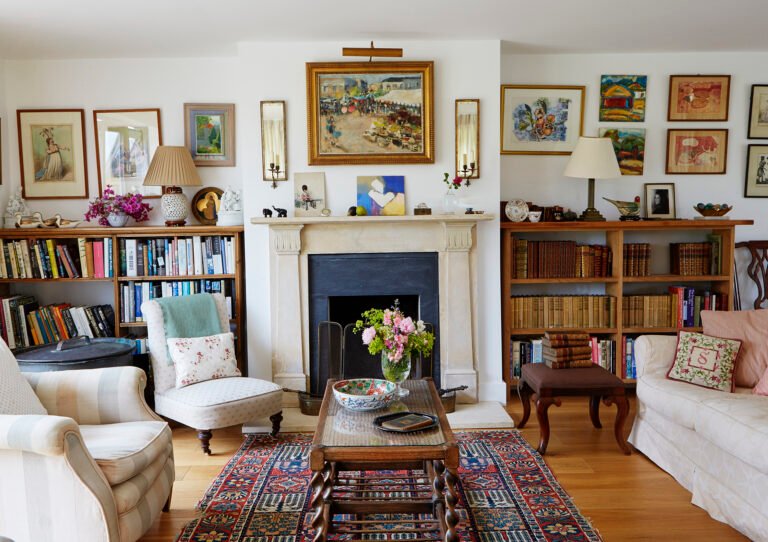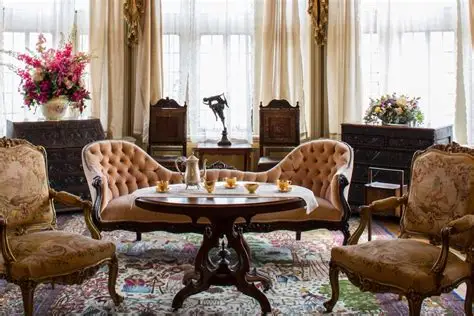
Antique Furniture Restoration Tips and Tricks
Antique furniture is more than just a functional item—it’s a piece of history, craftsmanship, and tradition. Whether it’s a vintage sideboard passed down through generations or a forgotten chair found at a flea market, restoring antique furniture is a rewarding process that breathes new life into old pieces. Antique furniture restoration tips and tricks can help you preserve the charm, value, and beauty of your furniture while also ensuring that it lasts for years to come.
In this guide, we’ll cover essential restoration tips for different types of antique furniture, from cleaning and repairing to refinishing and maintaining. With the right techniques, you can revitalize your treasured antiques while retaining their historical integrity.
Why Restore Antique Furniture?
Restoring antique furniture is not only about improving the appearance of a piece but also about protecting its value. Well-restored furniture can maintain or even increase in value over time. Additionally, antique furniture restoration gives you the opportunity to preserve a piece of family history or add unique character to your home. By carefully restoring your pieces, you help keep craftsmanship and historical beauty alive for future generations to enjoy.
1. Preserving Historical Value
When restoring an antique, it’s important to consider how the process will affect its historical value. Overzealous restoration can sometimes diminish the original craftsmanship. For collectors, retaining as much of the original wood, joints, and finishes as possible is key to maintaining the piece’s authenticity.
2. Enhancing Functionality
Antique furniture may need restoration to restore its functionality. Broken joints, worn upholstery, or missing hardware can be repaired to make the furniture usable again while maintaining its original look and feel.
The Restoration Process: Step-by-Step Guide
Whether you’re tackling a large piece or a smaller accent item, the restoration process can be broken down into several key steps. Following these steps will ensure that you achieve a professional-looking result, even if you’re a beginner.
1. Clean the Furniture Thoroughly
The first step in any restoration project is a thorough cleaning. Dust, dirt, and grime can build up over the years, making the furniture look dull and worn. However, cleaning needs to be done carefully to avoid damaging the wood.
Cleaning Tips:
-
Use a soft cloth to wipe down the furniture, removing dust and dirt gently.
-
Avoid harsh chemicals. Instead, use a mild soap solution for cleaning. You can also create your own cleaning solution with water and vinegar (in a 3:1 ratio).
-
Test cleaning products on an inconspicuous area before using them on the entire piece.
-
Clean hardware like handles, knobs, and hinges with a soft toothbrush to remove dirt without scratching.
2. Assess the Condition of the Wood
Once your furniture is clean, assess its overall condition. Check for cracks, chips, or deep gouges in the wood. These imperfections can often be repaired with the right materials and techniques.
Repairing Wood Damage:
-
Small cracks and gouges: Use wood filler or putty to fill in small cracks or chips. Apply the filler with a putty knife and smooth it out, allowing it to dry fully before sanding.
-
Deep cracks: For deep cracks or splits, you may need to glue the pieces together. Use wood glue specifically designed for furniture repair and clamp the pieces in place while the glue dries.
-
Sanding: After repairs are dry, sand the area gently to blend it with the surrounding surface. Always sand in the direction of the wood grain.
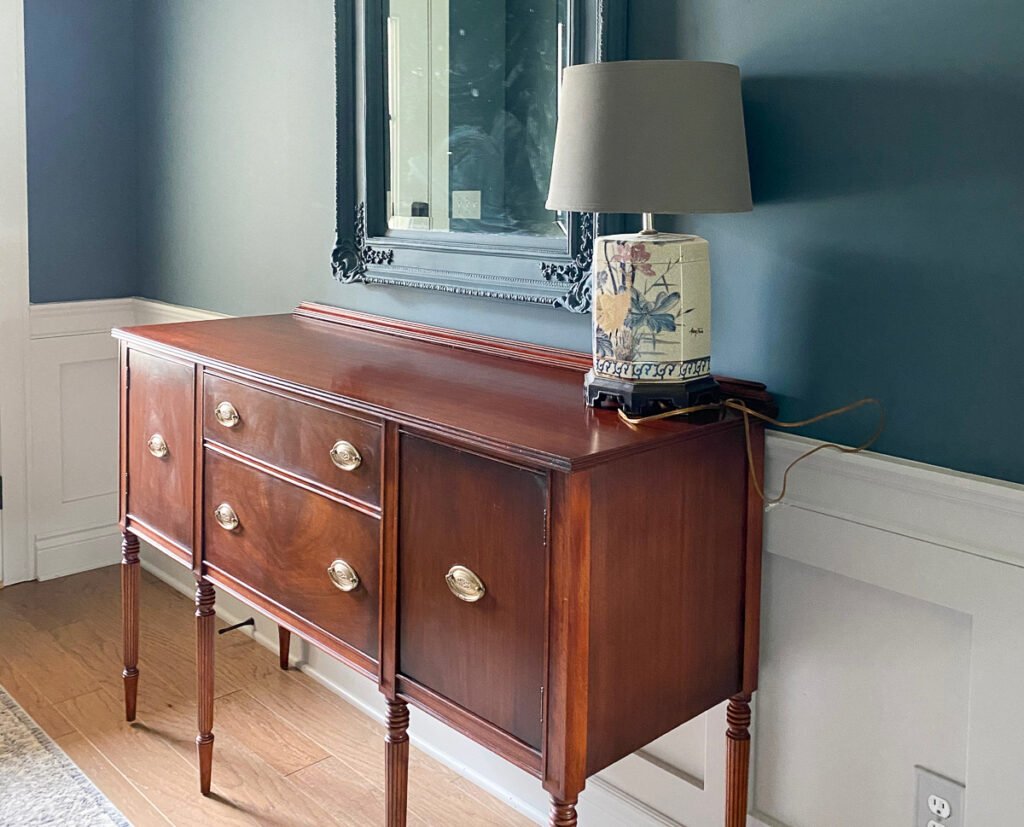
3. Refinishing the Wood
Refinishing is a critical part of antique furniture restoration because it restores the wood’s natural luster and enhances its beauty. You’ll likely want to remove old finishes before applying a new coat of stain or varnish.
Refinishing Steps:
-
Remove the old finish: Use a chemical stripper to remove the old varnish, lacquer, or paint. Apply the stripper with a brush and let it sit for the recommended time before scraping it off gently with a plastic scraper.
-
Sand the surface: Once the old finish is removed, sand the wood with fine-grit sandpaper to smooth out any rough spots. If you’re aiming to preserve the original color, avoid sanding too deeply, as it can change the appearance of the wood.
-
Stain or oil: If desired, apply a new stain to the wood to enhance its color and highlight its natural grain. Alternatively, you can use wood oil or wax to provide a natural finish that nourishes the wood.
-
Apply a protective coat: Once the stain or oil is dry, finish with a protective layer, such as a clear varnish, shellac, or lacquer, to seal and protect the surface. Apply multiple coats for better protection, letting each layer dry fully before applying the next.
4. Repairing Joints and Hardware
Over time, the joints on antique furniture may loosen, especially if the piece has been frequently used. Repairing or reinforcing these joints is essential for restoring both the function and structure of the furniture.
Joint Repair Tips:
-
Loose dovetail joints: These joints can be re-glued or reinforced with small wood pins or nails if they’ve come apart. Be sure to clean out any old glue before applying new adhesive.
-
Loose screws and nails: Tighten screws and nails that have come loose. If any are missing, you can replace them with matching hardware. Use antique-style nails or screws to maintain authenticity.
-
Re-glueing: For older pieces, re-glueing is often the best solution. Be patient and apply the glue carefully, ensuring the joint is clamped securely until it dries.
5. Reupholstering (If Necessary)
For furniture with fabric, such as chairs or sofas, reupholstering may be necessary. Over time, upholstery can become worn or faded, and restoring it with new fabric can significantly improve the piece’s appearance.
Reupholstery Tips:
-
Choose fabric carefully: Select a fabric that complements the antique’s style. Consider using vintage-inspired or neutral fabrics for an authentic look.
-
Remove old upholstery: Take off the old fabric carefully, noting how it’s attached. This will help when it’s time to reupholster. Use a staple remover or pliers to pull out old staples.
-
Add new padding: If the padding is worn, replace it with new foam or cotton batting. Make sure the padding is securely in place before attaching the new fabric.
-
Staple the fabric: Stretch the fabric tightly over the frame and staple it into place, ensuring that the fabric is smooth and free of wrinkles.
Maintenance Tips for Long-Lasting Restoration
Once you’ve restored your antique furniture, proper maintenance is essential to keep it looking its best. Here are a few tips to help extend the life of your newly restored pieces:
-
Regular cleaning: Dust your furniture regularly and avoid using harsh cleaning products that could damage the finish.
-
Protect from sunlight: Avoid placing antique furniture in direct sunlight, as UV rays can fade the wood and upholstery over time.
-
Use coasters and placemats: Prevent water rings and stains by using coasters on wooden surfaces and placemats on upholstered furniture.
-
Polish with care: Occasionally polish wood furniture with a soft, lint-free cloth and a suitable wood polish to maintain its shine.
Conclusion
Restoring antique furniture is a gratifying process that not only enhances the beauty of the piece but also preserves its historical value. With the right tools, techniques, and a bit of patience, you can restore almost any piece of furniture to its former glory. By following these antique furniture restoration tips and tricks, you’ll be able to transform old, worn-out items into cherished pieces that add character and charm to your home for years to come.